
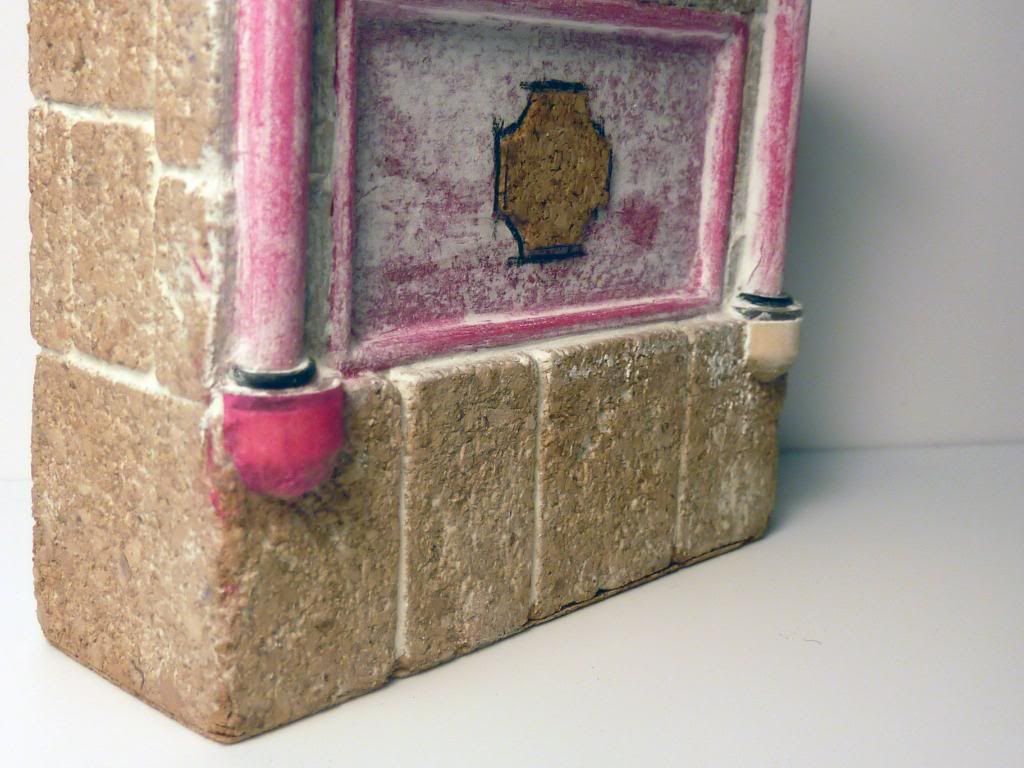
To start with, I needed something to support the small overhang from the pillar base on the sides. At first I was going to continue the pillar all the way down, but I thought that would take away from the element at the top. So in scavenging around my studio I found the perfect piece to use.
The piece I found was an old sculpting tool I never used, but the part that caught my eye was the ends of the handle that were slightly rounded. This will be perfect!
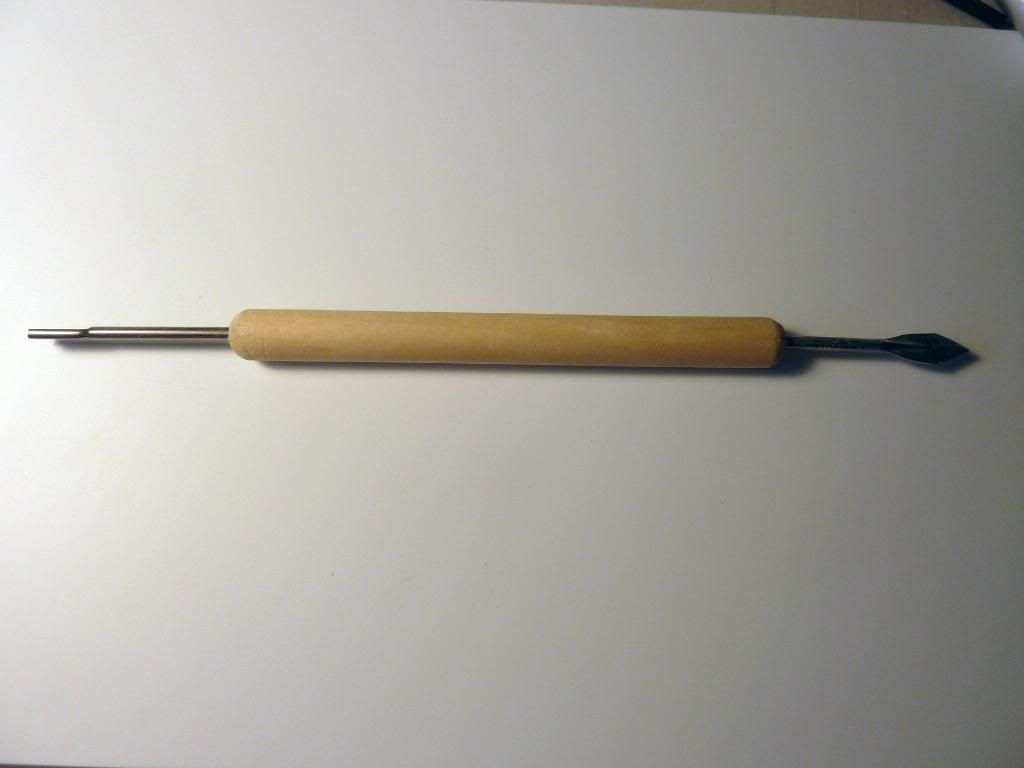
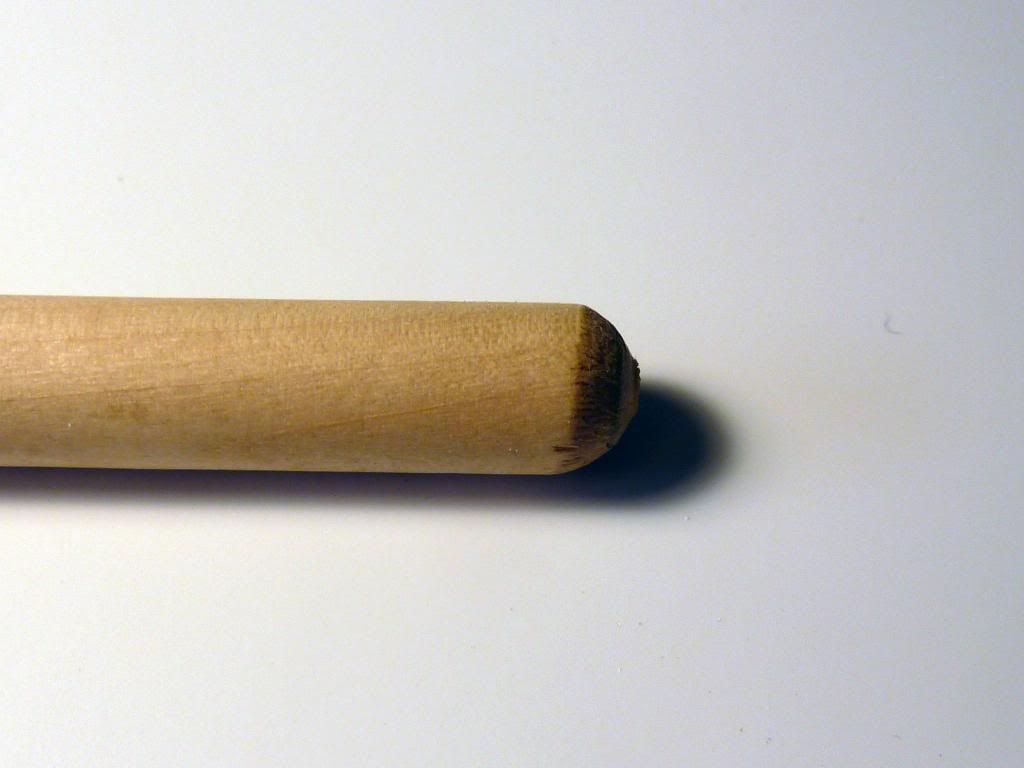
I pulled the metal tip out and cut the handle in half, this was still to much, so I sanded it down until it was flush with the CD case tab I used for the pillar base.
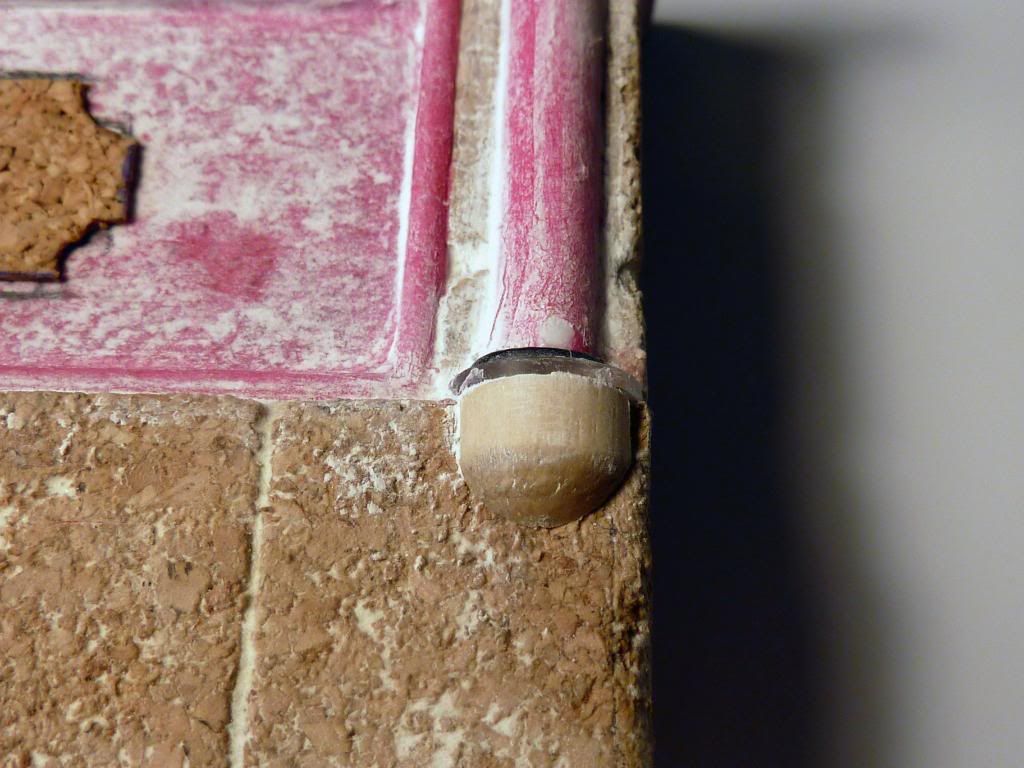
The next step was like I did before with the wood and plastic bits, covering the wood with tissue paper to bring more stone texture than wood. This also helps hide the small gaps around the edges. On top of this I applied a small amount of wall Spackle to further ensure the look of stone.
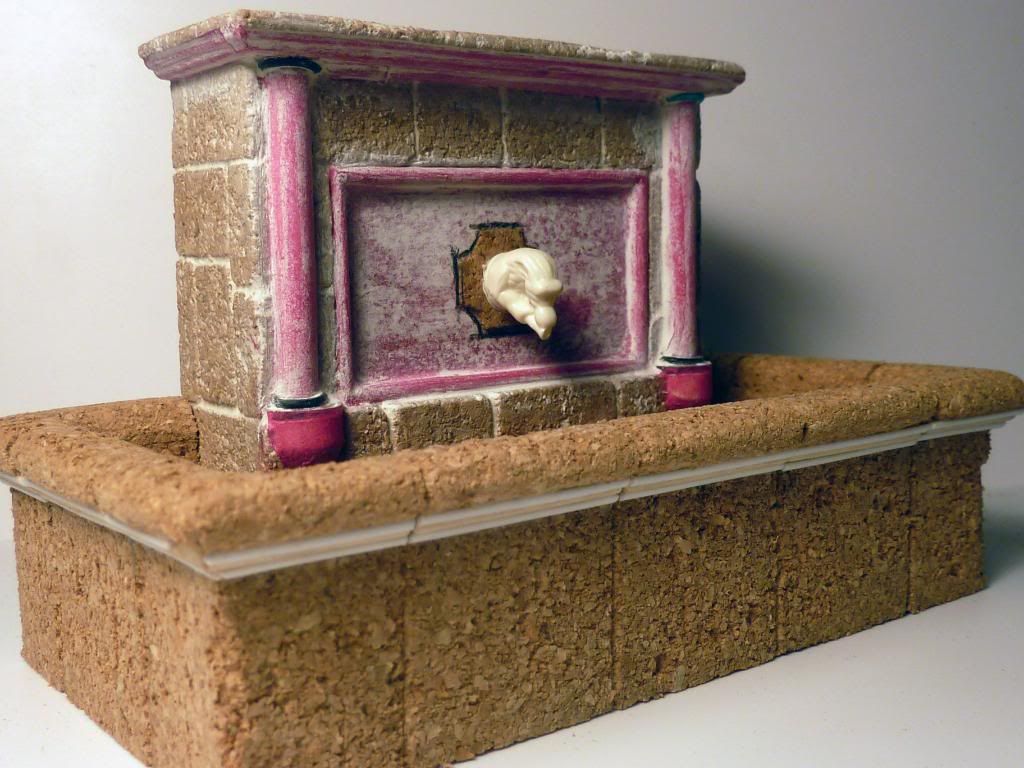
For the fountain base I built a floor that was a scale four feet longer and three feet wider than the fountain its self. I then cut and secured three foot walls around this base to give a nice reservoir for the water to fall into.

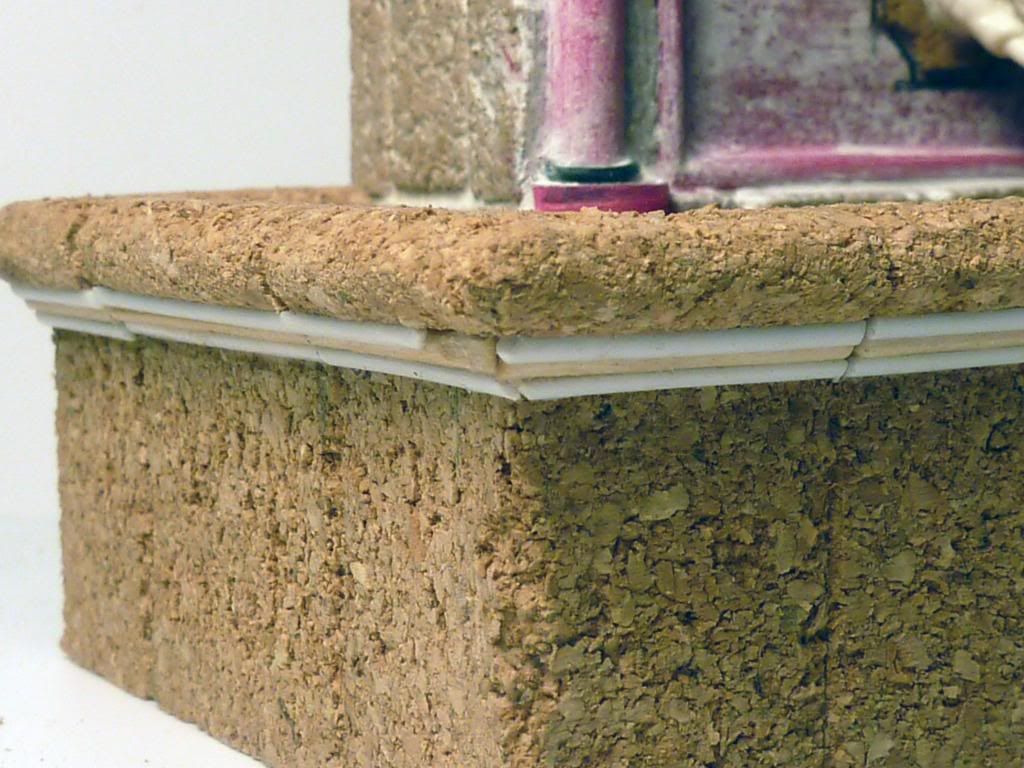
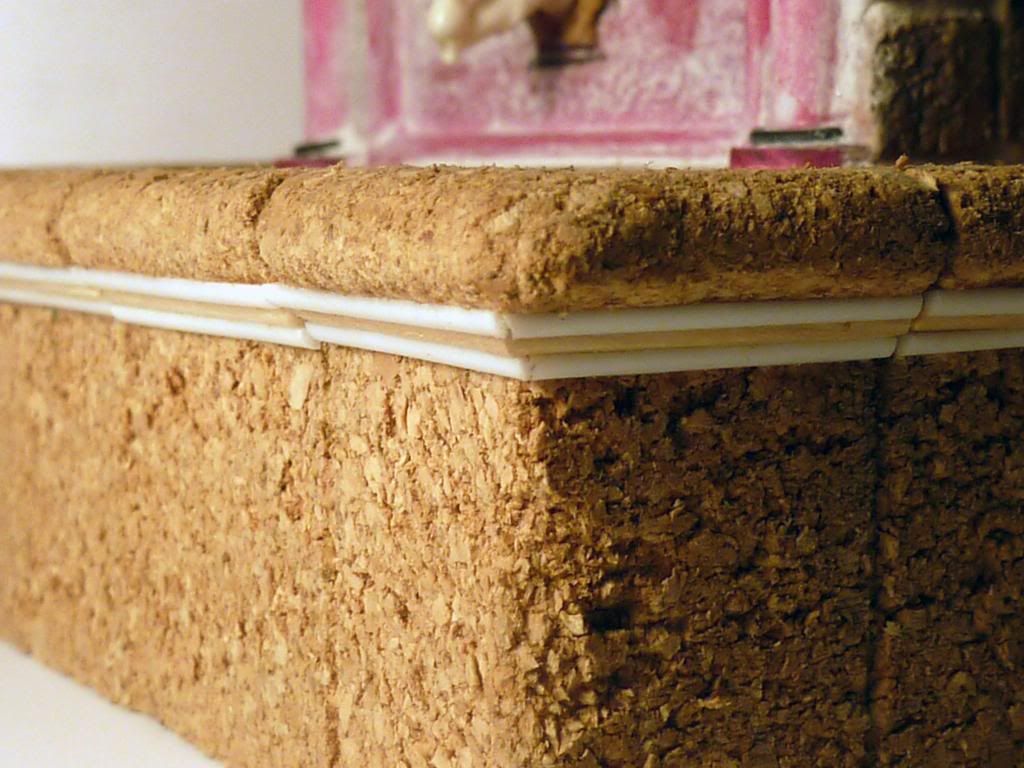
I then added a top cap to the wall that was twice as wide as the wall itself. I then marked out the stone spacing and used my razor saw to score the joint lines. To dress the edge, I employed the same technique as I did on the fountain top with tooth picks and plastic quarter round rods.
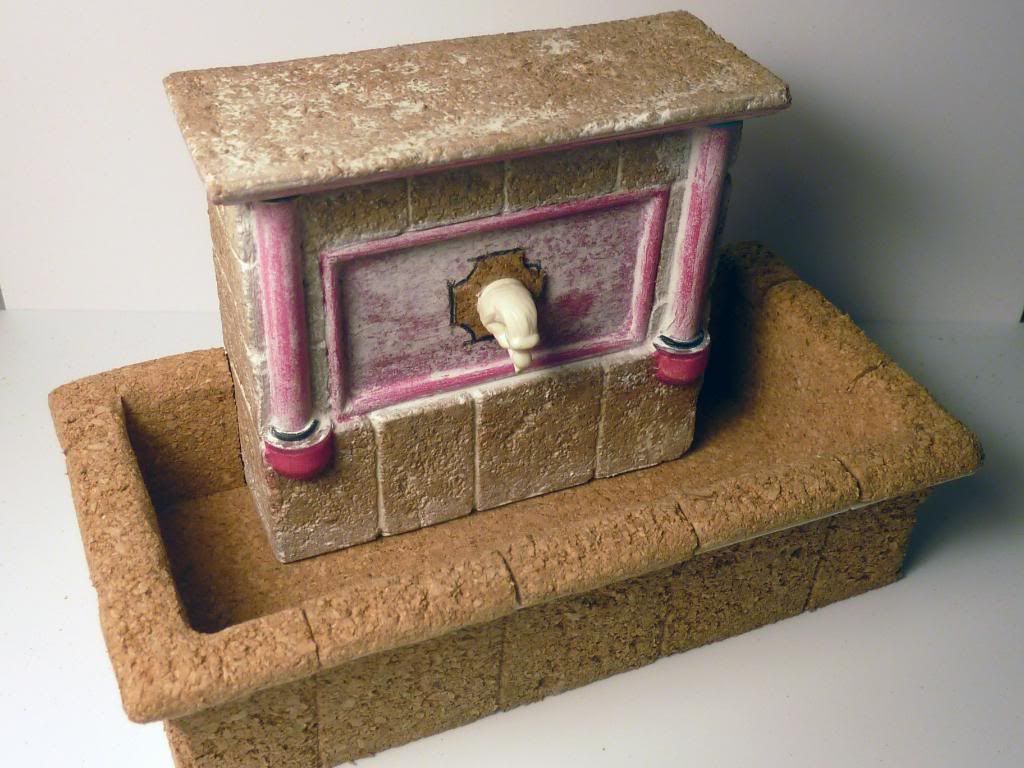
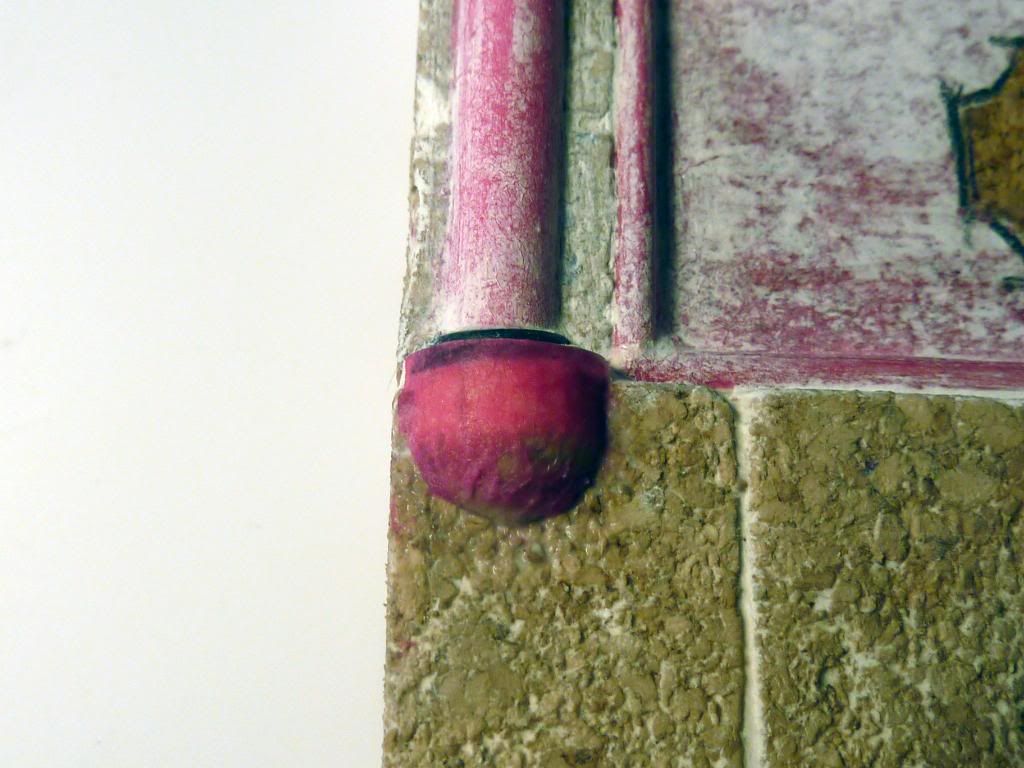
I applied more tissue paper and Spackle to the base to finish it off and fill in any voids and to smooth out the texture a bit. The fountain is now finished, primed and ready for casting!

looks great chris nice work.
ReplyDeleteThank you Andy! looking forward to seeing it in resin, casting them always brings out the best in the pieces!
ReplyDelete