
The art of scale diorama building; with a critical eye of scale, texture, and composition.
Tuesday, December 24, 2013
Merry Christmas!
I just wanted to wish our readers a very wonderful and blessed Christmas full of family, friends, and many model kits!
Saturday, December 14, 2013
.jpg)
.jpg)
.jpg)
.jpg)
.jpg)
.jpg)
Wednesday, December 11, 2013
Diorama entitled "Muddy Konrad III"


The finished diorama, used baking soda for snow and clear resin for water and mud


To get a nice effect of a dirty snow melting, I placed over the baking soda some AK wet effect fluid to give it shine and then at the edges I a bit of AK dark yellow wash
Tuesday, December 10, 2013
Laying in Some Color - Italian Stone Arch
Well the last couple days I was able to place tiles on the small side roofs. I decided on using "Spanish Tile" style roof, as I am a sucker for the look. Tiles are cast from Diorama Debris mold, fantastic product! A must have for the diorama architecture builders like myself.


.jpg)
.jpg)
.jpg)
.jpg)
Monday, December 9, 2013
Finishing the vehicles for the diorama "Muddy Konrad III”

The Ford truck is ICM, nice kit but needs a lot of work. Flak is from Bronco, an extremely nice and detailed kit. Little modifications were done on the Ford using plastic card, metal wires, aluminum paper, etc... Primed grey
More on my diorama project "Muddy Konrad III"

Up next were the vehicles. Started with Miniart’s BA-64, such
a marvelous kit to build. Slight detail was scratch built on it such as copper
wire for all handles, rough texture for all panels using Tamiya putty, and all weld seams were
re-created... Primed in grey
Sunday, December 8, 2013
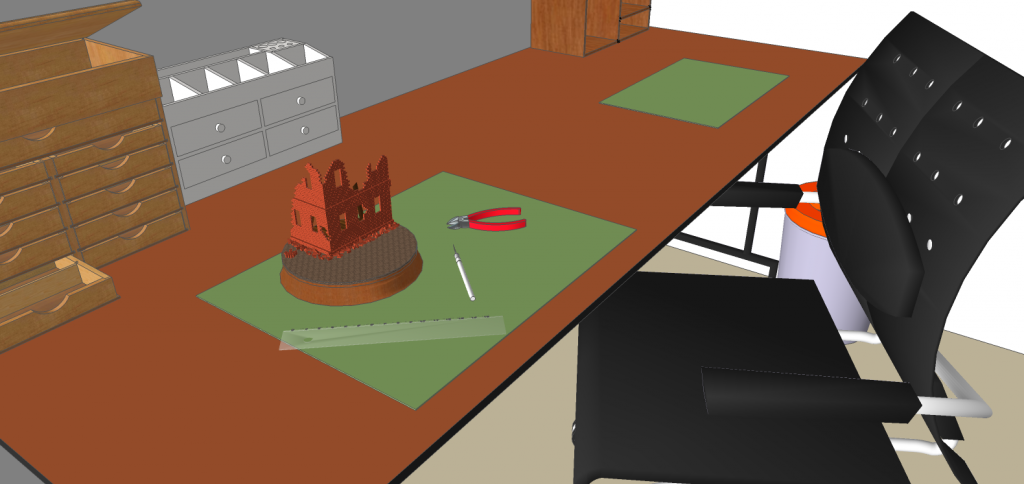
Italian Stone Archway
Some time ago I started this project, but along the way I lost interest in building it. Well it is back on my bench as I have started a new trend for me; as you all have seen, I have a nasty habit of starting something and not finishing before I move to the next project.
So, I am trying something new. I am actually going to start finishing my old projects one by one.... No promises that this will continue to work, but I am going to give it my best effort!
So, I am trying something new. I am actually going to start finishing my old projects one by one.... No promises that this will continue to work, but I am going to give it my best effort!
Saturday, December 7, 2013
Step by Step for my diorama project "Muddy Konrad III"
This article will be a brief step by step on my diorama... Enjoy


I started my diorama by forming a rock-like shape from cork material.
1cm thick sheets of cork were glued over
each other to the wanted height. Then using a hard file I formed the looks of
the rock. Piling these sheets of cork horizontally over each other and then
filing them gave me a natural look of rock.
Friday, December 6, 2013
A full AK-Interactive Panther Project

When doing this Panther a while ago I wanted it to be as good as
possible because it was the key of my story in the diorama. It was heavily
detailed with PE, aluminum barrel, Fruil metal tracks and scratch built material, and at that time I was still
experimenting with AK products. So I loved the idea of making this Panther G
Late all of it from A to Z a full AK Panther project… and I did. From paint to
weathering to scratching to streaking to pigments etc. This Panther belongs to the diorama entitled "Going Stealth, the art of camouflage"
Thursday, December 5, 2013
Diorama entitled "Going stealth, The art of camouflage”


This diorama entitled "Going stealth, The art of camouflage” is situated in East Prussia late 1944. The Panther is Tamiya with PE and aluminum barrel, the motorcycle is also Tamiya, the Pak is AFV, and the figures are DML. The old ruined castle is scratch built from plaster, so as for the other structures on the diorama. The story behind this diorama is how the last Panzer of the 5th Panzer Division is dragging a wooden bar behind it so as to cover the tracks of the retreating forces. I took 2 prizes for this diorama in "Beirut Model Show 2013"; the golden award 1st prize and the "Best Of Show" prize too, were we had Mig Jimenez as our special guest.
Diorama entitled "Silhouette of a Troublemaker”

This diorama entitled "Silhouette of a Troublemaker” is situated in Italy mid 1944. The Hetzer is Tamiya, heavily detailed with scratch built material, the whole set is also made from scratch built material. I took the golden award 1st prize for this diorama in "Beirut Model Show 2012", where we had Emilien Peppin, the editor of Steel Masters magazine, as our special guest for the show.
Diorama "Eight-Legged Feak"


Wednesday, December 4, 2013
My old works
Hi, my name is Bernard Bassous, am a 1/35th scale military modeller. Am specialized in building WWII German dioramas.
I believe that the 3 main important points in building a great diorama are:
The ability to produce a natural scene as realistic as possible in a very artistic way.
To build a kit and make it belong to that natural setting.
And finally to paint a figure and make it tell that story.
Always keeping in mind the main rule in diorama building: maximize your idea in the minimum space possible.
I will be posting some pictures of my older works and put some info under them. Enjoy...

This Tiger I late belongs to a diorama I did for a friend. Its DML with full PE sets from Lionroar and Aber
Lets Welcome the Newest Team Member!
I am proud to announce that our team is growing once again! Lets give a warm welcome to the newest author of this blog, Bernard Bassous. He is a very talented diorama builder and I am sure you will all enjoy his article and techniques That he will be able to share with us all.
Welcome aboard Bernard!

Here is a peek at some of his works:


Welcome aboard Bernard!

Here is a peek at some of his works:


Wednesday, November 20, 2013
New Project Started
I know, I know, its been ages since my last post. I apologize for the absence, life getting in the way again.
I have started a new project, not military related, but the techniques can be applied to and diorama or structure build. This project is going to be a super detailed Christmas village. I have always wanted to build my one ever since I was a young boy seeing the village my mother would put out each year. I always thought they lacked detail and like; they were just chunks of porcelain after all.
Well, Now I have gained the knowledge and experience to finally work on this life long little dream of mine. The first house of the village will be based off of the plans from the Sears Modern Home collection. Back in the day when the department store actually sold real life house kits, all materials included, you just had to supply the man power to build it.

Monday, May 27, 2013
Adding some Shingles
I got most of my new hobby studio set up, at least enough to do some work, and have begun the work on the roof of the Italian House.
I am using the Pantiles roof mold from Diorama Debris for this process. Using these molds does take some getting use to as it produces very thin castings. You must be patient and wait for the plaster to fully cure before even attempting to remove them or they will crumble. Once you have it down it goes fairly fast.
I highly recommend these molds, I have used a few with more to do and they produce stunning detail.
Price depends on the mold, so head on over and take a look at the selection. When you order from them, let them know Falcons Bench sent you!
Diorama Debris Website
Here you can see the results of my roof that I have started, I am loving the results!

Back to casting more tiles to finish off the roof!
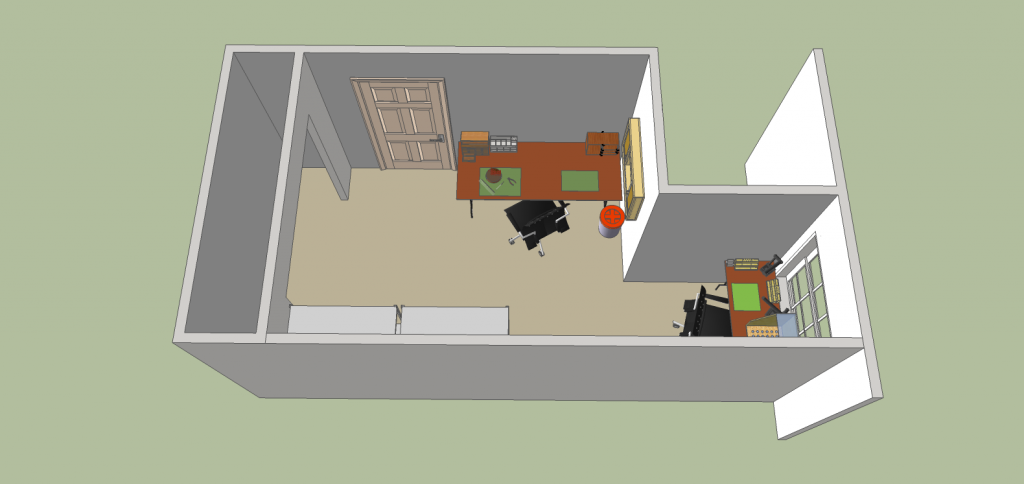
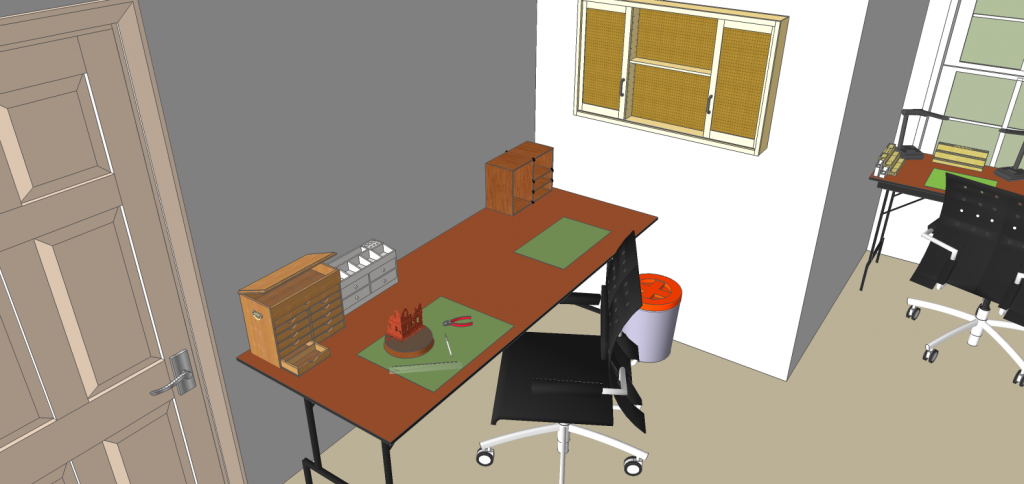
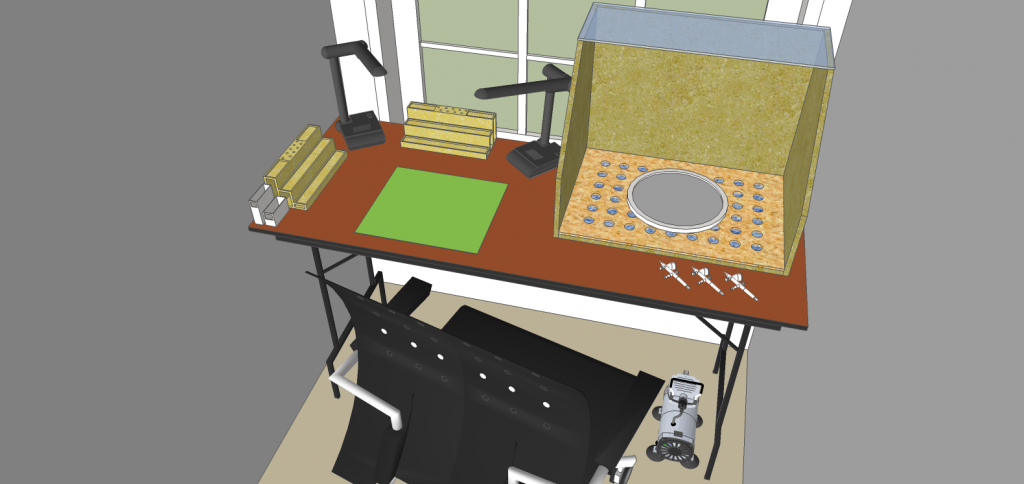
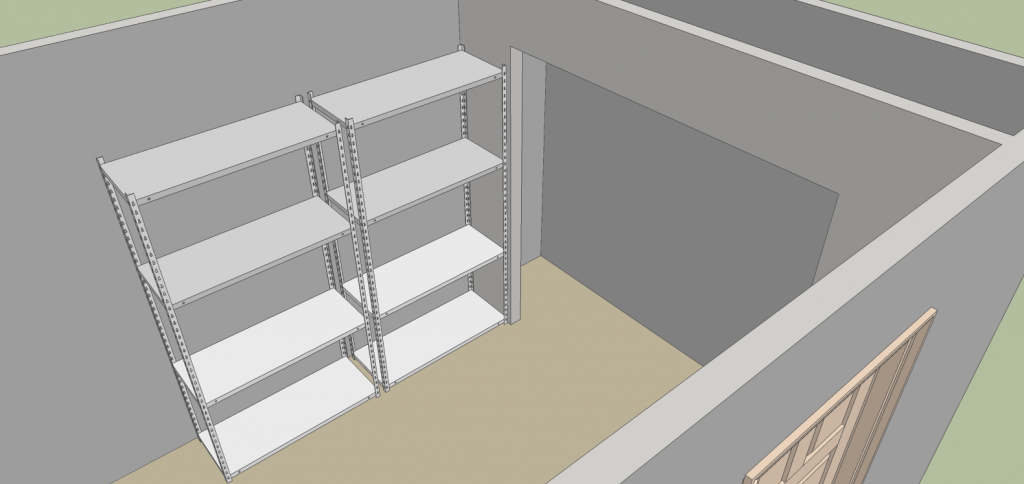
Monday, May 20, 2013
My New Hobby Studio
I have been in the process of moving to a new studio over the last several weeks; most of the stuff is now moved in but the unpacking continues. Will start posting more once I get things settled into my new space!


Monday, April 15, 2013
Planting Grass with a Shock, Static that is
I have been building my own static grass applicator for use in my dioramas. This unit is 120 volt static grass applicator; overall I am very pleased with the outcome of this device as it makes planting the grass much faster. Below is a short video demonstration of the unit in action, as well as some still shots.


Friday, March 15, 2013
Let the Vegitation Grow!
Hello my friends,
Back with another update. My groundwork has dried so that I can continue work by planting vegitation. All items used to simulat the saplings, bushes, and reeds were found during a walk through the yard. Never underestimate what you can find in nature to help you model nature; after all, nothing looks more realistic than nature itself!

Back with another update. My groundwork has dried so that I can continue work by planting vegitation. All items used to simulat the saplings, bushes, and reeds were found during a walk through the yard. Never underestimate what you can find in nature to help you model nature; after all, nothing looks more realistic than nature itself!

Wednesday, March 13, 2013
Put a Stone On It
Little progress as of late; I removed the exsisting water and recreated the look of the water scape area. Bit more elevation to it and most important, stone on the edge. Its not in every stream, however, I think it adds a bit more interest rather than the earth right into the water. This also brings in the all important elevation in the diorama as well.
I also have scraped the tree that I was sculpting as I was not particularly pleased with how it was turning out. The new plan is in progress and will be reveiled at a later date. So I have used a resin casting of a stump I sculpted about a year ago, the toothpicks hold open the spots in the fresh groundwork for the above mentioned plan.
I also have planted some vines on the wall; this shows what you can do just by taking a walk in the garden. All the vines are natural, made from dried weed roots. So if the wife asks you to help weed the flowers, by all means DO IT!! It will add to your vine colection! : ) At a later date, I will be adding the ivy leaves to the vines with another natural product found in the yard. Each one will be placed individualy as well as painted one by one.
But for now, here is some pics of the progress. Now I have to wait for the groundwork to dry.....


Saturday, March 9, 2013
Refinishing the Base
To begin refinishing of this base, I removed all the old ivy, propaganda posters, and grass. The ivy had to go as it was falling apart and the days of using herbs to simulate it are long over. The posters were removed to all the much needed mortar to the brick joints.


Sunday, March 3, 2013
Attic Relic Found
A little over 10 years ago, some of my modeling supplies and pieces I had made went into storage. Until the last few days they had been forgotten in a box stuffed inside the attic of my parents home.
It brought back many fond memories of how I got started in this wonderful hobby we all share and love!
One piece in particular caught my eye, it was an unfinished piece that I had started and still held great potential once finished.
It brought back many fond memories of how I got started in this wonderful hobby we all share and love!
One piece in particular caught my eye, it was an unfinished piece that I had started and still held great potential once finished.
Subscribe to:
Posts (Atom)