
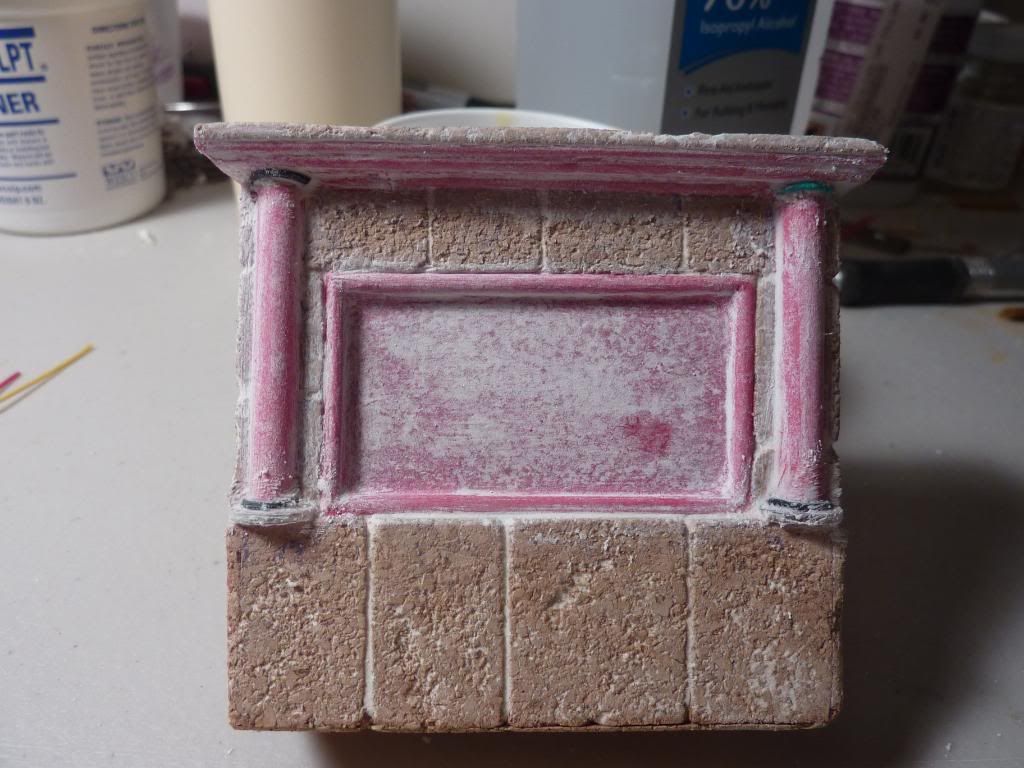
The work I was able to do was to make all the wood and plastic parts look like stone. It doesn't matter what colors you paint it, stone doesn't have wood grain and is not perfectly smooth. To transform these parts into stone I used some quality tissue paper and applied it to the model with diluted wood glue. After the paper was in place, I smoothed it out a bit with more diluted wood glue and a brush. I added tissue paper to the center as well to simulate a smoother stone or that perhaps it was covered with a smooth stucco. Once the paper was dry, I applied Spackle wall paste over the paper. This will help enhance the stone look. When the Spackle dried i sanded it smooth with fine grit sandpaper. All the pink areas are were I added the tissue paper. I also added an electronics wire to the bottom and top of the simulated pillars to enhance the look.

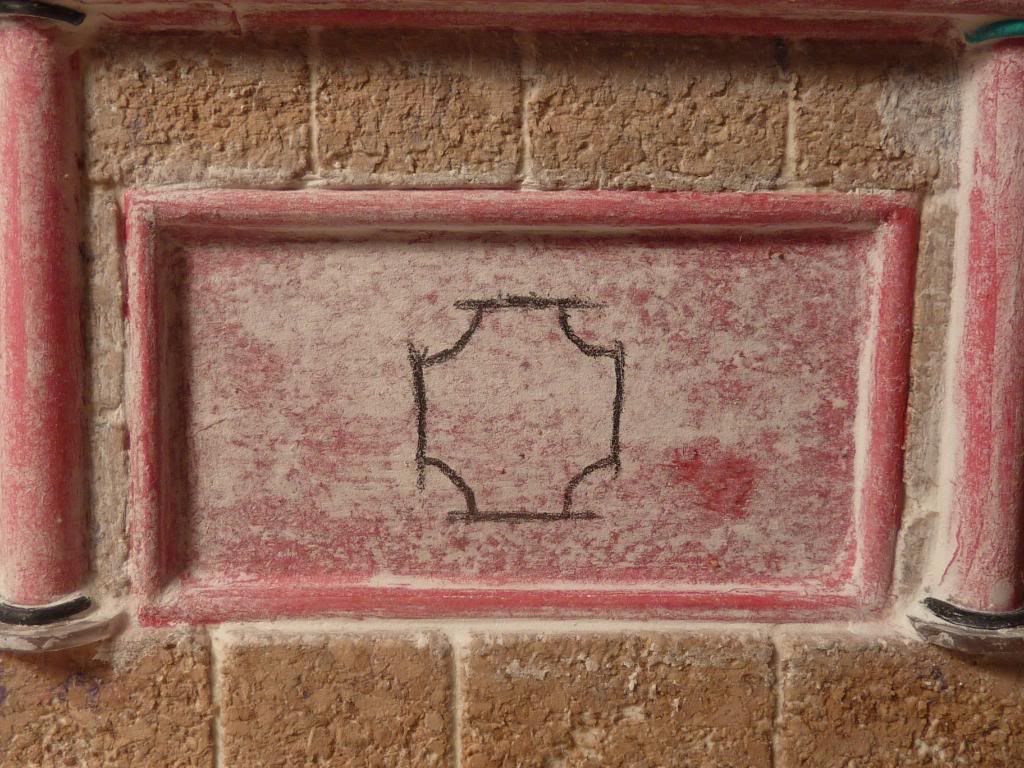
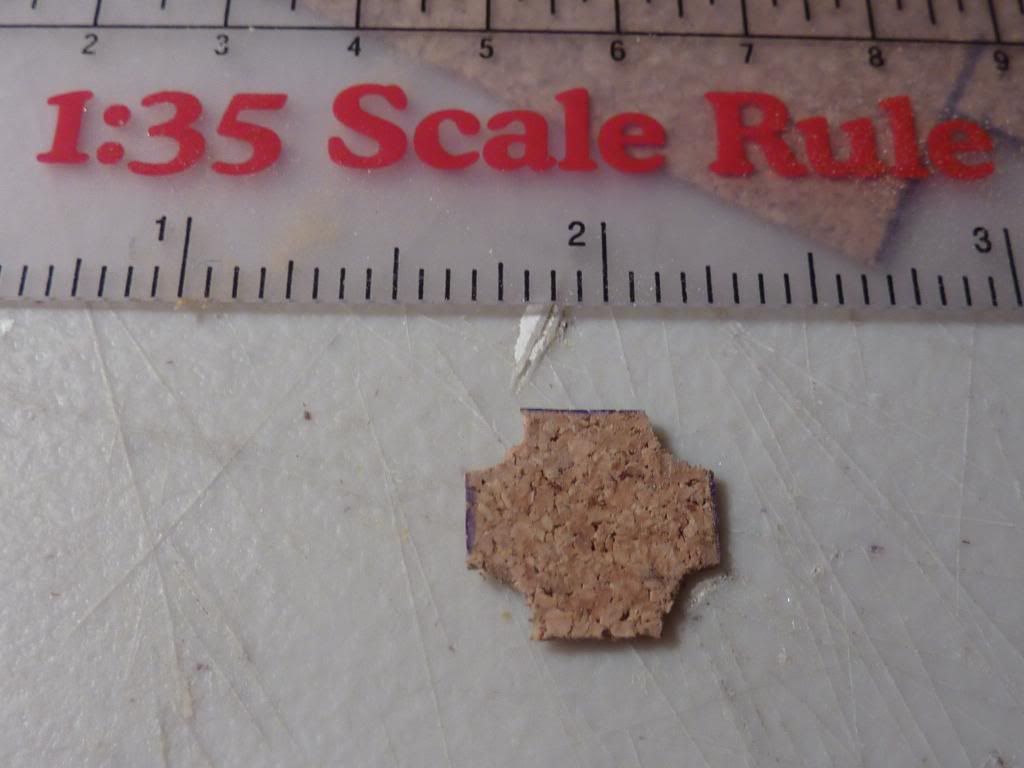
At this time I have decided to only have one pour spout for the fountain; located in the center. I wanted the spout to sit on an ornament of some kind and decided to do a square with concave corners. I drew out the shape, took measurements and cut this out of very thin cork I found at the scrapbook store (don't just rely on the hobby shops. Scrapbook and fabric stores have a plethora of items we can use in our hobby!).

This was all I was able to get done on this project today, to help visualize the end result I used some tack to hold the spout on the fountain. I'm really starting to like this now!


No comments:
Post a Comment